The Sequence That Separates a Smooth Renovation From a Costly Disaster
Seven million UK homeowners are planning to renovate their properties by 2027. Most of them will get the order wrong.
Not because they are careless — but because renovation order is one of those things that looks obvious until you are standing in a freshly plastered kitchen watching a plumber lift your brand new floor to reach a pipe he should have moved three months ago. That mistake — installing finishes before first-fix services are complete — is the single most common and most expensive error made on UK renovation projects every year.
Get the sequence right and a renovation runs like clockwork: trades arrive in the correct order, no work is undone, no surface is ruined by a later trade, and the finished result is exactly what was specified. Get it wrong and you pay twice — sometimes three times — for the same square metre of floor.
This guide gives you the exact order. Not a general overview — the specific, correct sequence that professional builders follow on every project, from structural groundwork to final snagging. After more than a decade of building renovations across Berkshire and the Thames Valley, this is what we know to be true.
Why Renovation Order Matters More Than Budget
Most homeowners focus intensely on budget and almost not at all on sequence. This is understandable — the cost of a renovation is the most visible number. But the sequence is what determines whether that budget is spent once or twice.
Every renovation has a logic built into the physics of building. Wet trades — concrete, plasterwork, screeds — must dry before dry trades — flooring, joinery, decoration — can begin. First-fix services — the pipes, cables and ductwork that run inside walls and floors — must be installed before those walls and floors are closed up. Structural changes must be completed and certified before any internal fitting work begins.
When a project skips steps or compresses the sequence, the result is inevitable: finished surfaces are opened up to reach services underneath them, plaster is re-done because dust from a later demolition ruined it, tiles are lifted because a leak was discovered after grouting. Each of these mistakes adds cost, time and stress that was entirely avoidable.
The correct renovation order exists for a reason. Here it is.
The Correct Order to Renovate a House in the UK — 2026
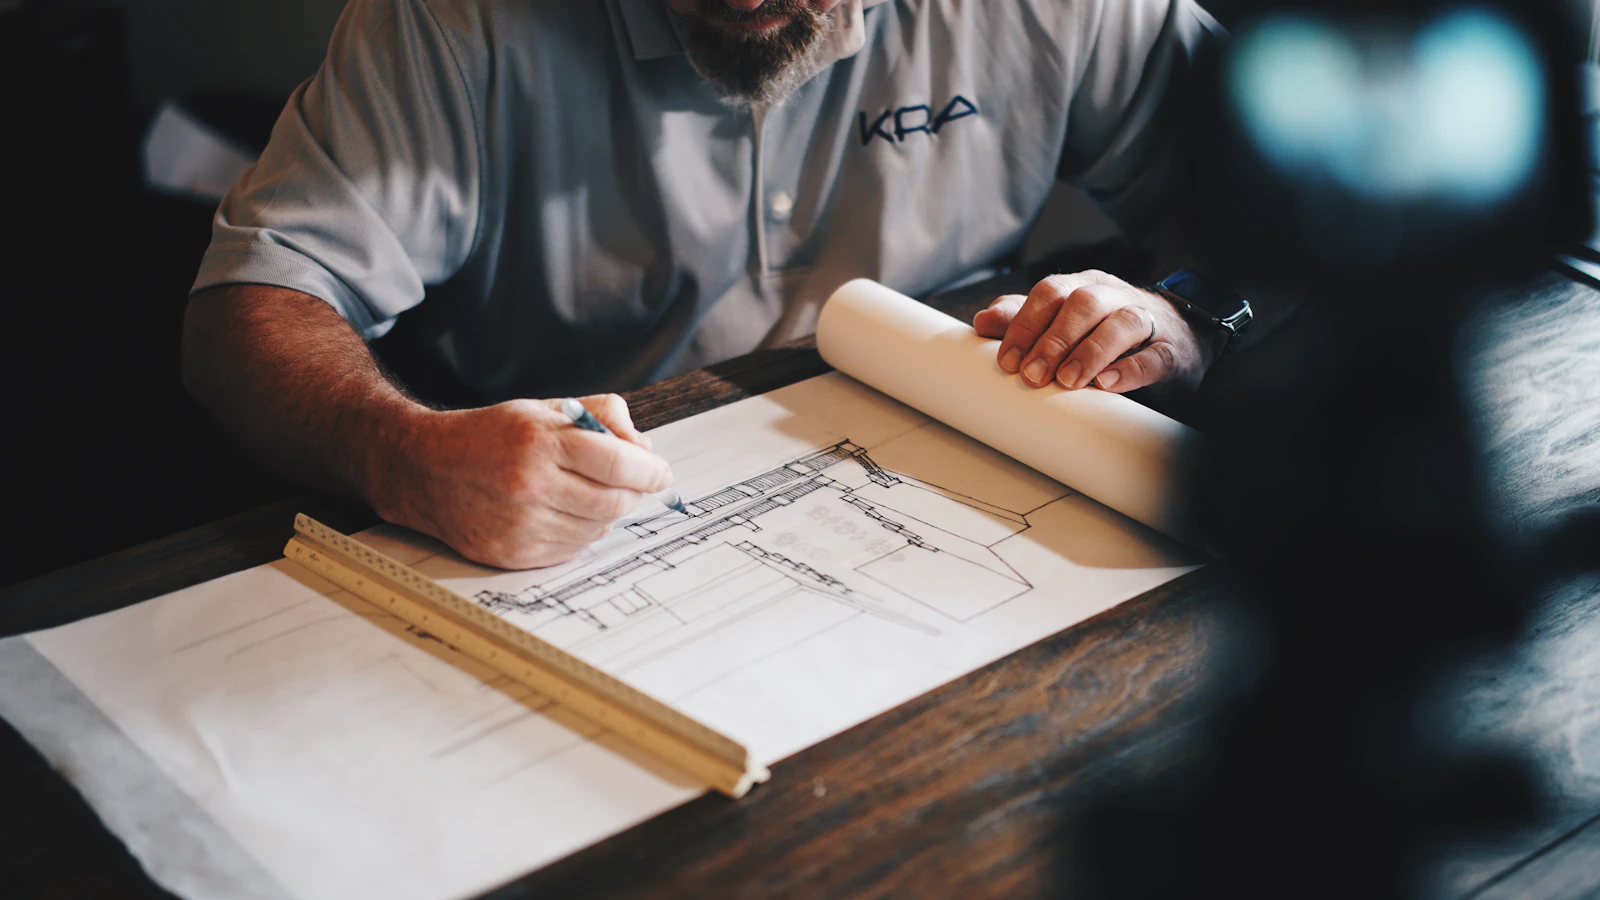
Stage 1 — Planning, Design and Permissions
Before a single tool touches the property, every decision must be made on paper. This is not a formality — it is the foundation of the entire project.
What this stage covers:
A complete scope of works — every room, every trade, every material decision captured in a document that becomes the binding specification for the project. If it is not written down at this stage, it will cost more to change later.
Architectural drawings where required. For extensions, structural alterations, loft conversions and garage conversions, you need dimensioned drawings prepared by a qualified architect or architectural technician. These drawings are required for planning applications and Building Regulations submissions.
Planning permission or Permitted Development confirmation. Most internal renovations do not need planning permission. Extensions, loft conversions, outbuildings and external alterations usually do — or require Permitted Development notification. Establishing this at Stage 1 prevents a project being halted mid-build.
Building Regulations submission. Structural work, new electrics, gas works, plumbing alterations and significant insulation changes all require Building Regulations approval. Apply before work starts — not during it.
A structural engineer's calculations. If any walls are being removed, openings widened or new loads introduced, a structural engineer must calculate the steel sizes required. No structural work should begin without these calculations in hand.
How long this takes: 6 to 16 weeks, depending on whether planning permission is required. Full planning applications take 8 to 13 weeks from submission to decision. Permitted Development Prior Approval takes 4 to 8 weeks.
The mistake to avoid: Starting physical work before permissions are confirmed. A build halted by a planning enforcement notice or a failed Building Regulations inspection is one of the most expensive mistakes a homeowner can make.
Stage 2 — Strip-Out and Demolition
Once all permissions are in place and the project is fully designed, the physical work begins with strip-out. Everything that is being removed, replaced or repositioned comes out now — before any new work begins.
What this stage covers:
Removing existing kitchen units, bathroom suites, flooring, ceiling finishes and internal linings where they are being replaced. Stripping back to the structure of the building — brick, block, concrete, timber frame — so that services and structural work can be assessed and carried out cleanly.
Removing any walls that are being taken down. If the wall is load-bearing, a structural steel or RSJ beam must be installed before the wall is removed — the sequence matters here at a micro level. Temporary Acrow props support the structure above while the wall comes down and the steel is inserted.
Disposing of all waste properly. Skip hire, licensed disposal of any hazardous materials (asbestos surveys are mandatory on properties built before 2000 where materials may be present), and clearing the site for the structural phase.
Why this comes before everything else: Strip-out is a dusty, dirty, damaging process. Doing any finishing work before strip-out is complete means that finishing work gets destroyed. Every surface touched after this stage is a fresh, clean surface that will not be contaminated by later demolition.
Stage 3 — Structural Work
With the building stripped back and structural calculations in hand, the structural phase begins. This is the most critical stage of any renovation. Every other element of the project sits on top of what is done here.
What this stage covers:
Foundation work for any extensions or new structures. In Berkshire, clay-heavy ground conditions in much of Reading, Wokingham and the Chilterns fringe can require deeper strip foundations or specialist pile foundations. Ground conditions must be assessed at this stage — not assumed.
Load-bearing wall alterations and RSJ beam installation. When a wall comes down, a structural steel beam carries the load that wall was supporting. The steel size is specified by the structural engineer and must be certified by Building Control before the next stages proceed.
New structural openings — bi-fold door openings, lantern roof apertures, rooflight positions — are formed at this stage. The structural steel goes in, the opening is formed, and a Building Control inspector signs off the structural work before it is enclosed.
Chimney breast removals, if applicable. These require structural support — a padstone and steel — and are notifiable under Building Regulations.
The principle to understand: No structural work is cosmetic. Everything done in Stage 3 determines what the building can and cannot do for the next hundred years. This is not the place to value-engineer, rush, or skip a Building Control inspection.
Stage 4 — Weatherproofing and External Envelope
If the renovation includes any changes to the roof or external walls — a rear extension, a loft conversion, new windows or doors in the external envelope — these must be completed and weathertight before any internal works proceed.
What this stage covers:
Roofing works — new roof structure for extensions, loft conversion roof alterations, flat roof replacements, rooflights and lantern frames. The building must be waterproof before any internal trade works beneath it.
External wall construction for extensions — brickwork, blockwork, render systems, cladding. In Berkshire Conservation Areas, external materials must match or complement the original property and may require planning approval.
New external windows and doors installed at frame stage. These are the weathertight seal between the structure and the elements. Fitting second-fix ironmongery, glazing units and decorative finishes comes much later — but the frames go in at this stage.
Why this matters: Internal works carried out in a building that is not yet weathertight are at risk from rainfall, damp penetration and temperature fluctuation. Plasterwork damaged by moisture ingress, first-fix timber affected by damp, insulation compressed by water — all avoidable if the external envelope is sealed first.
Stage 5 — First-Fix Plumbing and Electrics
First-fix is the phase that most homeowners never see — and the one that causes the most expensive problems when it is done out of sequence.
First-fix means all of the services that run inside walls, under floors and above ceilings before those surfaces are closed up. Plumbing pipework, electrical cable runs, heating system pipework, underfloor heating circuits, telecoms and data cabling, mechanical ventilation ducts — all of it goes in at first-fix while the structure is open.
First-fix plumbing covers:
All supply pipework — hot and cold water — run from the boiler and rising main to the positions where taps, showers, basins and appliances will eventually connect. Waste pipework run from every future wet point back to the soil stack or drainage. Underfloor heating pipes laid across the floor before screed is poured.
First-fix electrics covers:
All cable runs installed and routed to every switch, socket, light fitting, consumer unit, appliance connection and data point in the building. No sockets or plates fitted at this stage — just cables, back boxes and junction boxes, all confirmed to be in the correct positions before walls close up.
The non-negotiable rule: First-fix plumbing is pressure-tested before any wall or floor surface closes over it. A pipe with a slow leak discovered under a tiled floor after completion means the tiles come up, the floor is opened, the leak is repaired, and the tiles are relaid. This is one of the most avoidable and most expensive renovation mistakes made in the UK every year.
Building Regulations notification: Electrical first-fix work must be notified to Building Control or carried out by a Part P registered electrician. Gas work at any stage must be carried out by a Gas Safe registered engineer.
Stage 6 — Insulation
With first-fix services in position and checked, insulation goes into every wall, floor and ceiling cavity before those surfaces are closed up.
What this stage covers:
Wall insulation — rigid PIR boards, mineral wool batts or spray foam depending on the wall construction type. Party walls and external walls must achieve the U-values required by current Building Regulations.
Floor insulation — rigid PIR boards beneath screed, or acoustic insulation between timber joists depending on the floor construction.
Roof and ceiling insulation for any extension or loft conversion work.
Why this is Stage 6 and not later: Insulation must go in before walls are plastered and floors are screeded. Trying to retrofit insulation after decoration is either impossible or requires opening up every surface that was just finished. The sequence protects the investment in everything that comes after.
Stage 7 — Plastering and Screeds
Plastering is one of the most misunderstood stages of a renovation in terms of timing. Freshly applied plaster takes four to six weeks to dry fully depending on the thickness, the temperature and the ventilation in the building. This drying time cannot be rushed, shortened or bypassed.
What this stage covers:
Boarding — new plasterboard fixed to studwork, ceilings and dot-and-dabbed to masonry walls. All cable runs, pipes and insulation must be correctly positioned before boarding begins, because opening up a boarded wall is destructive.
Skimming — a thin coat of finishing plaster applied over board or directly onto masonry. This is the finished wall surface that accepts decoration.
Sand and cement screed poured over the ground floor, locking in underfloor heating pipes and creating the final level floor surface for tiles, stone or engineered wood.
The four-week rule: New plaster must achieve below 75% relative humidity before emulsion paint is applied and below 65% before any moisture-sensitive materials — engineered wood, vinyl, carpet — are installed. Rushing this stage stains decoration, causes paint to peel and causes moisture-sensitive flooring to swell and fail.
Stage 8 — Second-Fix Plumbing and Electrics
Once the plaster is dry and the screed is cured, second-fix services can be completed. Second-fix means all the visible, functional elements that connect to the first-fix infrastructure already in the walls.
Second-fix plumbing covers:
Fitting bathroom and kitchen appliances and fixtures — taps, shower valves, basins, baths, shower trays, WC cisterns, radiators. Connecting all supplies and wastes to the first-fix pipework already in position.
Second-fix electrics covers:
Fitting all faceplates, sockets, switch plates, light fittings, consumer unit completion and testing. The complete electrical installation must be tested and a BS7671 installation certificate issued by the electrician.
Central heating completion: Boiler connection, pressure testing, flushing and commissioning. A Gas Safe engineer must commission any gas boiler and issue a commissioning certificate.
Stage 9 — Kitchen and Bathroom Fitting
Kitchen and bathroom units are fitted after second-fix services are completed and before tiling. This is the sequence that most homeowners get wrong — fitting kitchens before services are finalised, then having to remove units to access pipes or cables.
What this stage covers:
Kitchen carcass installation — all base and wall units fixed in position, worktops templated (for stone worktops) or cut and fitted (for laminate or timber). Appliances connected by the electrician and plumber.
Bathroom furniture installation — vanity units, shower enclosures, bath panels, storage.
The templating pause: Stone and quartz worktops — including Silestone, Dekton, granite and Corian — must be templated once units are installed and then fabricated off-site. This adds 7 to 14 days to the kitchen programme. Plan for it; it cannot be compressed.
Stage 10 — Tiling
Tiling follows kitchen and bathroom fitting because tiles around kitchen splashbacks, bathroom walls and shower enclosures must be cut to fit around the fitted furniture — not around a space where furniture will eventually go.
What this stage covers:
Wall tiling to bathroom, en-suite and kitchen splashback areas. Floor tiling in bathrooms, kitchen-diners and hallways. Wet room tanking — full waterproof membrane applied to all surfaces before any tiles are laid in a wet room or level-access shower.
The non-negotiable for wet rooms and shower enclosures: Tanking must be applied to every surface before a single tile goes down. Grouted tiles are not waterproof. Water penetrates tile grout over time, and without a tanking membrane behind the tiles, that moisture enters the wall and floor structure. This is the cause of almost every case of bathroom damp, mould and structural rot in UK properties.
Stage 11 — Flooring
Flooring is one of the final trades and must go in after tiling, after any remaining joinery is fixed, and — crucially — after the building has been heated to its normal operating temperature for at least one week.
What this stage covers:
Engineered wood, solid wood, LVT or carpet installation throughout living areas, bedrooms and hallways. Flooring is one of the most moisture-sensitive materials in the project. Installing it too early — into a building that still has damp plaster, wet screed or cold, unheated conditions — causes warping, lifting and joint failure that voids the manufacturer warranty.
The heating requirement: Underfloor heating systems must be commissioned, run at low temperature for two weeks, then raised to operating temperature before any wood or engineered flooring is installed. This acclimatises the subfloor and prevents moisture-driven movement in the finished floor.
Stage 12 — Decoration
Decoration is the final trade before snagging. This includes all painting, caulking, silicone sealing around bathrooms and kitchens, and any remaining joinery finishing.
The correct sequence within decoration: Ceilings before walls. Walls before woodwork. Woodwork — skirting boards, architraves, door frames — before gloss or eggshell topcoat. Every surface fully prepared, filled and primed before any topcoat is applied.
Why decoration is last: Every trade that precedes it — tiling, flooring, second-fix electrics, plumbing commissioning — marks, scuffs and marks walls and ceilings in ways that require making good. Decorating before trades are complete means redecorating after they finish. The sequence is non-negotiable.
Stage 13 — Snagging
Snagging is the final inspection, carried out when all trades have finished and the building is clean. Every item that does not meet the agreed specification is listed, photographed and communicated to the contractor for rectification before final payment is released.
A thorough snag list covers:
All painted surfaces — runs, holidays (missed areas), poor cutting in, uneven coverage. All tiled surfaces — lippage, grout lines, chipped tiles, uneven alignment. All joinery — doors that do not hang correctly, gaps in skirting mitre joints, uneven reveals. All plumbing — tap operation, shower pressure, waste drainage rates, no evidence of drips. All electrics — every socket and switch tested, all light fittings functional, no exposed wiring.
Why snagging matters legally: Retaining 5% of the contract value until snagging is satisfactorily completed is standard practice on well-managed renovation projects. It is the homeowner's leverage that ensures every defect is corrected before the project is formally complete.
Renovation Order Summary — UK 2026
| Stage | Work | Must Follow | Minimum Wait |
|---|---|---|---|
| 1 | Planning, design, permissions | — | 6–16 weeks |
| 2 | Strip-out and demolition | Stage 1 confirmed | None |
| 3 | Structural work | Strip-out complete | BC inspection |
| 4 | External envelope and roof | Structural sign-off | Weathertight before Stage 5 |
| 5 | First-fix plumbing and electrics | Structure closed | Pressure test before Stage 7 |
| 6 | Insulation | First-fix tested | None |
| 7 | Plastering and screeds | Insulation complete | 4–6 weeks drying |
| 8 | Second-fix plumbing and electrics | Plaster dry | Testing certificate |
| 9 | Kitchen and bathroom fitting | Second-fix complete | Worktop template: 7–14 days |
| 10 | Tiling | Units fitted | Tanking cure: 24–48 hours |
| 11 | Flooring | Tiling complete, building heated | 1 week at temp |
| 12 | Decoration | All trades complete | — |
| 13 | Snagging | Decoration finished | Retain 5% until complete |
How Long Does a Full House Renovation Take in the UK in 2026?
A full house renovation on a three-bedroom property in the UK takes a minimum of four to six months on site — not counting the planning, design and permissions period that precedes it.
The most commonly underestimated time costs are:
Planning and permissions: 8 to 13 weeks for a full planning application. This runs before any physical work begins, not alongside it.
Structural steel lead times: Structural steel is fabricated to order and typically takes 3 to 6 weeks from structural engineer sign-off to delivery on site. Projects that do not allow for this sit on pause waiting for steel.
Plaster drying: Four weeks minimum. This is a physical fact, not a contractor preference. Rushing it produces failing decoration and moisture problems.
Stone worktop fabrication: 7 to 14 days after templating. Kitchen programmes that do not account for this run over by exactly this amount, every time.
Total programme from first conversation to handover: On a full renovation with a rear extension, allow 10 to 14 months from initial consultation. On a targeted room-by-room renovation without structural work, allow 5 to 8 months.
What Does a Full House Renovation Cost in the UK in 2026?
The average cost of a full house renovation in the UK in 2026 is £76,690 for a three-bedroom property, according to current market data. In Berkshire and the Thames Valley, where labour and material costs run 15 to 20% above the national average, a full renovation on a three-bedroom property typically costs £85,000 to £120,000 all-in.
The projects that most often go over budget do so because the scope was not fully defined at Stage 1. A budget built on a clearly written specification is a reliable budget. A budget built on a brief conversation and a rough estimate is not.
For a full breakdown of renovation costs by project type in Berkshire, see:
- Full Home Renovation Cost UK 2026
- House Extension Cost in Berkshire 2026
- Kitchen Renovation Cost in Reading and Berkshire 2026
- Garage Conversion Cost in Berkshire 2026
The 5 Renovation Sequence Mistakes That Cost UK Homeowners the Most Money
1. Decorating before all trades are finished. This is the most common mistake and the most demoralising. Every trade that follows a finished decoration leaves marks, scuffs and damage. Decoration is always last.
2. Installing flooring before the building is heated and dry. Engineered wood installed into a cold, damp building swells, bows and splits within weeks. The manufacturer warranty is void. The floor must be replaced.
3. Tiling a shower without tanking behind the tiles. Grouted tiles are not waterproof. Without a tanking membrane, water penetrates the grout, enters the wall structure, and causes rot and mould — typically not visible until significant structural damage has occurred. This is the most expensive bathroom defect we correct in Berkshire properties.
4. Fitting kitchen units before second-fix plumbing is confirmed. Units fitted over pipes that have not been pressure-tested, or in positions that obstruct access to valves and joints, must be removed when the plumber returns. Every hour of kitchen fitting is expensive to undo.
5. Ordering materials on a compressed timeline. Stone worktops, bespoke joinery, structural steel, specialist tiles — all have lead times measured in weeks, not days. A project that orders at the last minute sits idle waiting for materials. Order everything that has a lead time of more than two weeks at Stage 1, not Stage 9.
How SIB Construction Manages the Renovation Sequence in Berkshire
When SIB Construction manages a renovation in Reading, Windsor, Maidenhead or elsewhere in Berkshire, the programme is planned from Stage 1 to Stage 13 before a single trade starts on site. Every subcontractor knows the sequence. Every material with a lead time is ordered at the right moment. Every Building Control inspection is booked in advance.
The result is a renovation that runs to programme, finishes at the agreed price, and delivers a result that passes snagging on the first inspection.
Guri personally manages every project — which means the person who surveyed the job, wrote the specification, and quoted the price is the same person responsible for the programme and the quality of every stage.
If you are planning a renovation in Berkshire and want to understand the correct scope, sequence and cost for your specific project, the first step is a free site visit. Guri will visit your property, assess every stage of work required, and return a detailed fixed-price quotation within 48 hours.